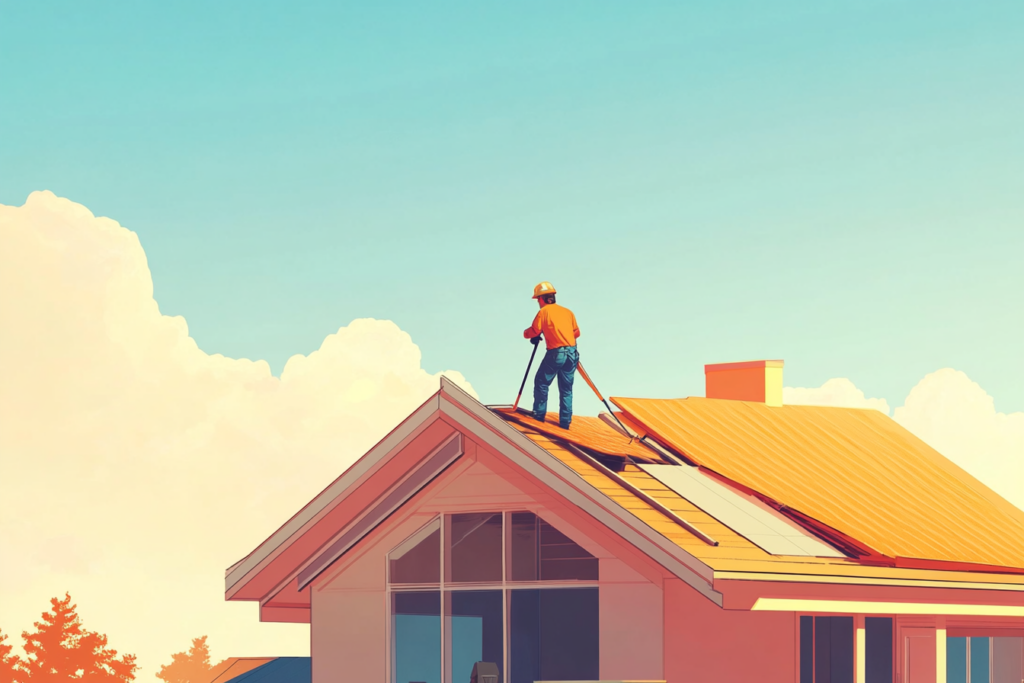
Standing 10 to 20 feet away from your home and scanning the roof for signs of cracked or missing shingles and other damage doesn’t come close to the accurate assessment you get by performing a DIY roof inspection. While you might see buckled or missing shingles from a ground-level view, you won’t see less visible roof issues, like cracks or loss of shingle granules, that require immediate repair.
When to Leave DIY Roof Inspections to Professionals
If you are afraid of heights, have balance problems, or struggle with limited mobility, don’t get on your roof for any reason. Instead, rely on expert roofers to inspect it after extreme weather events and between seasons. Individuals physically compromised are at risk of slipping, tripping, losing their balance, or suffering heat exhaustion during a DIY roof inspection. Licensed roofers use body harnesses, industry-specific ladders, and other safety precautions to prevent accidents.
Preparing to Inspect Your Roof

Items you need to do a DIY roof assessment safely and accurately include:
- Traction-soled boots with deeply ingrained tread patterns firmly grip loose or unstable surfaces. The ideal boots for inspecting a roof would be actual roofing boots equipped with raised, block-like patterns (lugs) on the boot’s outsole.
- Safety harness that can be attached to eave and bracket anchors
- A heavy, sturdy extension ladder that can be secured to a sloped roof’s ridge. The ladder should extend at least three or four feet beyond the edge of the roof
- Wear gloves to avoid cutting your hands on damaged shingles and other sharp debris
- Take a flashlight along to inspect concealed or hard-to-see areas of the roof
Take pictures of any roof damage you encounter with your cell phone, and always have somebody spotting you on the ground during your inspection.
What You Should Know To Conduct a Comprehensive DIY Roof Inspection
The best time to inspect your roof’s condition is when you know it is completely dry. For example, if it recently rained, wait at least two days before checking your roof to avoid mistaking wet spots for damage. Also, cloudy or partially sunny days improve visibility on most roof types when bright sunshine isn’t reflecting off a roof’s surface.
Asphalt Shingle Damage
Curling, buckling, or partially raised asphalt shingles are easily blown off during wind events, allowing water leaks and rot to develop. If you see a lot of curling shingles, it could indicate that your roof has reached the end of its life. Common causes of cracked shingles include high winds, frequent temperature swings, and, in some cases, improper installation methods.
Rock granules coat the layer of tar on asphalt shingles. Loss of granules may cause shingles to appear darker than usual. Excessive granules in downspouts or gutters could mean your roof is quickly deteriorating, increasing the risk of water leaking into your home.
If you have interior ceiling stains, wet attic insulation, or notice dampened masonry around brick walls or fireplaces, you don’t need to bother with a DIY roof inspection. Contact a professional roofing company and make an appointment for roof repair ASAP.
Metal Flashing
Thin pieces of sheet metal installed to direct water away from areas where shingles meet are called metal flashing. As a barrier to prevent water from leaking under the roof and into your home, metal flashing can start peeling and flaking and develop rust spots or tiny holes called corrosion pits. If you notice green or white patches on flashing, this is also a sign of corrosion.
Metal flashing surrounds chimneys, plumbing and roof vents, and skylights. Other metal roof components you should check for signs of degradation include downspouts, fascia boards, and gutters. Rusted and corroded metal flashing promotes structural damage by allowing water to seep through your roof and into your home.
Signs of Degrading Roof Sealant
Roof sealant seals areas where water can easily penetrate on roofs. Inspect the condition of sealant around the chimney, skylight, and vent flashing, as well as areas where you know sealant was used to repair cracks and small holes. Silicone is the most popular type of roof sealant due to its durability and resistance to extreme temperatures. If you see gaps or breaks between the sealant and flashing, remove the old sealant with solvent, clean and dry the area, and apply the new sealant.
What Else Should You Examine During a DIY Roof Inspection?
Check gutters to ensure they are securely fastened to the roof line. Look for sagging, cracks, and other damage that could compromise their functionality. Gutters should be aligned and sloped to facilitate water flow toward downspouts.
Use your flashlight to see if downspouts are clogged with leaves, twigs, bird nests, and other debris. A properly placed downspout should extend five feet from your home’s foundation to prevent water damage.
Consider the age of your roof. If you find more damage than you thought you would during your DIY roof inspection, it may be time for a new roof replacement. Depending on the severity of repeated weather events and how well they are maintained, most asphalt shingle roofs last, on average, between 15 and 30 years. Metal, concrete tile, or clay roofing is the most durable, lasting as long as 50 years before needing to be replaced. Slate roofing is the longest-lasting material- up to 100 years- but it is much more expensive than other roof types.
Advantages of Professional Roof Repair or Replacement
If your roof is frequently repaired, it may be time to consider a new one. Upgrading to a new roof enhances property value, improves curb appeal, and increases your home’s energy efficiency. Professional roof repair or replacement also means you don’t have to worry about hidden leaks that could damage your home’s structure and foundation.
You might also be interested in: 9 Steps to Replacing a Roof When You Have Solar Panels