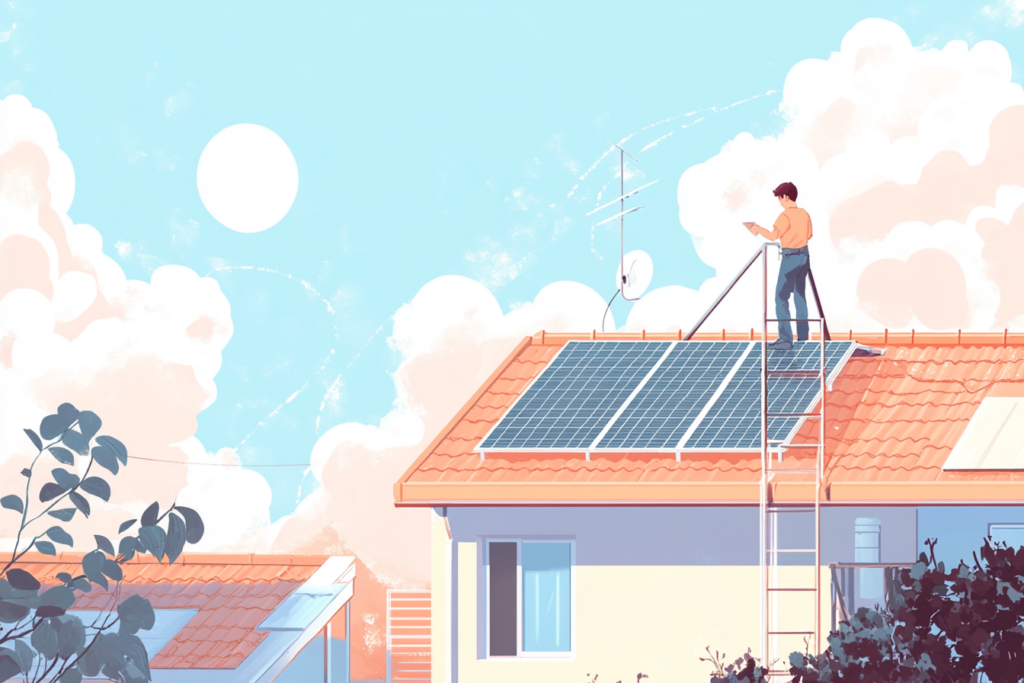
There’s no denying that replacing a roof is a major home improvement project and requires careful planning and execution. But when you are working with a home with existing solar panels, the process becomes more complex due to the additional steps involved in handling the solar equipment.
Solar panels are a well-known substantial investment that can help reduce your energy bills and contribute to environmental sustainability. Keep reading and we will share the steps to replacing a roof while ensuring your solar panels remain safe and functional.
Step 1: Assess the Roof’s Current Condition
Determine whether roof replacement is necessary. Look for these signs:
- Age: If your roof is near the end of its lifespan.
- Damage: Visible wear, leaks, or missing shingles.
- Structural Issues: Sagging or compromised integrity.
It is important to do a thorough inspection before making any decisions. Hire and consult with a professional roofing contractor, that way if issues are found, they can replace the roof before further damage occurs, which could also harm your solar panels.
Step 2: Coordinate with Roofing and Solar Professionals
Removing and reinstalling solar panels must be handled by qualified technicians. Proper coordination between the roofing contractor and a solar specialist is critical. Steps include:
- Disconnecting the solar panels from your electrical system.
- Safely remove the panels and secure them in storage.
- Reinstalling the panels after roof replacement.
Ensure both contractors understand the project timeline to avoid miscommunication or delays.
Step 3: Obtain Necessary Permits
Replacing a roof and working with solar panels often requires permits from local authorities, it is important that you check with your local jurisdiction to see what laws are in place for this and act accordingly as every region is different. Check with your contractor to confirm which permits are needed. Common permit requirements include:
- Roofing permits for structural work.
- Electrical permits for handling solar systems.
Failing to get a proper permit can lead to fines, delays, or problems during future home inspections.
Step 4: Plan the Budget
Roof replacement with solar panels involves additional costs. These may include:
- Panel removal and reinstallation fees: Typically between $2,000 and $6,000, depending on your system’s size.
- Roofing costs: Vary based on materials, labor, and roof size.
Check with your homeowner’s insurance for potential coverage. Look for government incentives, rebates, or tax credits for energy-efficient home upgrades to offset costs.
Step 5: Choose Compatible Roofing Materials

Select materials that support the long-term durability of your solar system. Popular choices include:
- Metal roofing: Long-lasting and energy-efficient.
- High-quality asphalt shingles: Cost-effective and durable.
Discuss options with your contractor to ensure the materials meet your home’s needs and align with your solar system’s requirements.
Step 6: Schedule the Project
Work with both contractors to create a timeline that minimizes downtime for your solar system. Steps to streamline scheduling include:
- Agreeing on start and end dates for panel removal and reinstallation.
- Accounting for potential weather delays.
- Building flexibility into the schedule to handle unexpected issues.
By carefully planning, you reduce disruptions and avoid prolonged labor costs.
Step 7: Prioritize Safety
Roofing and solar panel work involve risks. Choose contractors with:
- Proper licensing and insurance.
- Safety certifications and compliance records.
- Clear protocols for emergencies.
Ensuring everyone follows strict safety measures protects your property and the workers involved.
Step 8: Reinstall and Test Solar Panels
Once the roof replacement is complete, solar panels can be reinstalled. Qualified solar technicians should handle this step to ensure:
- Panels are securely mounted and correctly positioned.
- All electrical connections are restored and functional.
- System performance is tested to confirm efficiency.
Check your monitoring system to verify the panels are producing the expected energy output.
Step 9: Review Warranties and Maintenance Plans
After the project, review warranties for both your new roof and solar panels. Key points to understand include:
- Coverage for materials and labor.
- Maintenance requirements to uphold warranties.
- Schedules for inspections and cleanings.
Regular upkeep is not only a great preventive measure for costly repairs, but it also extends the lifespan of your roof and solar system, maintaining efficiency and protecting your investment.
Conclusion
Replacing or repairing a roof when you have solar panels requires in-depth planning and coordination with qualified professionals.
Protecting your solar investment during roof replacement ensures long-term energy savings and sustainability while enhancing your home’s overall value. Happy roofing!
You might also be interested in: Top 5 Indicators for When to Patch vs. Replace Your Roof