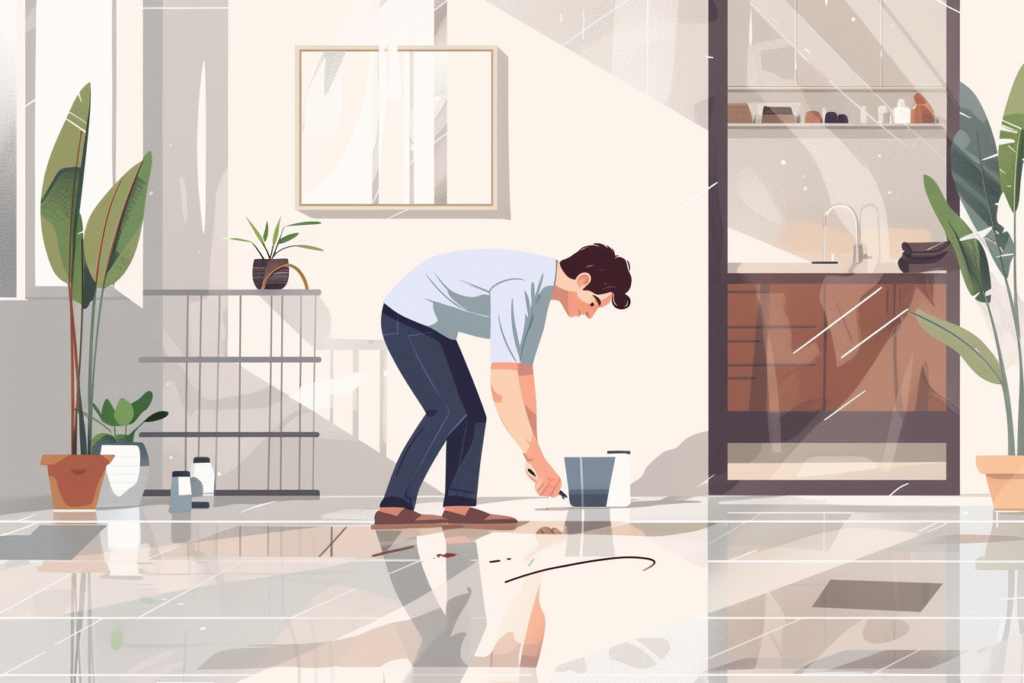
Embarking on any DIY flooring installation project can be daunting and overwhelming at times, yet it can be very rewarding. Whether you’re laying down hardwood, laminate, vinyl, or tile, the satisfaction of transforming your space with your own hands is unparalleled. This guide offers essential tips and tricks to ensure your DIY flooring installation is a success, allowing you to achieve professional-quality results without the hefty price tag.
Planning and Preparation: The Foundation of Success
Planning and prep work is the foundation for success no matter what you are doing, especially when it comes to home projects.
Choose the Right Flooring
Consider the room’s function, moisture levels, and your budget. Vinyl or tile might be best for high-moisture areas like bathrooms and kitchens. Living areas and bedrooms are great for hardwood or laminate.
Measure Twice, Buy Once
Read that again. Carefully measure your space to determine how much flooring you’ll need. Add 10% to your calculation for waste and mistakes—having a little extra is better than running short.
Acclimate Your Flooring
Wood and laminate flooring need to acclimate to your home’s humidity and temperature for at least 48 hours before installation. This prevents warping and buckling.
Gather Your Tools and Materials
Ensure you have all the necessary tools before starting. Common tools include a tape measure, saw, level, spacers, and underlayment. Don’t forget about safety gear like gloves and goggles.
Subfloor Preparation: The Key to Longevity
To begin, your subfloor must be clean, dry, and level. Remove any debris and sand down high spots. Fill in low spots with a suitable compound. Even minor imperfections can affect the final result.
An appropriate underlayment can provide a moisture barrier, sound insulation, and a smoother surface. This is crucial for floating floors like laminate and engineered hardwood.
5 Installation Tips: Laying the Groundwork

Here are five steps to follow to install your new flooring.
1. Read the Manufacturer’s Instructions: This might seem obvious, but specifics vary between products. Adhering to the manufacturer’s guidelines ensures the best outcome and maintains your warranty.
2. Start with a Plan: Decide on your starting point and direction. Typically, flooring is installed parallel to the longest wall, but consider light sources and room features. Plan your layout to avoid narrow strips against walls.
3. Maintain an Expansion Gap: Wood and laminate contract and expand when temperature and humidity changes. To prevent buckling, leave a gap around the edges, hidden by baseboards.
4. Stagger Your Seams: Stagger the seams by at least 6 inches for structural integrity and aesthetic appeal for plank flooring. This also distributes the end joints for a more natural look.
5. Use the Right Saw: Different materials require different saws. Laminate can often be cut with a simple hand saw or utility knife, while hardwood might require a circular saw or miter saw.
Finishing Touches: It’s All About the Details
The little details matter a ton when it comes to flooring. It is important to take your time and focus on the details before calling the project complete.
Trim and Transitions
Install baseboards, trim, and transition strips after laying the floor. This not only hides the expansion gaps but also adds a polished look to your project.
Sealant and Grout
For tile floors, apply grout according to the manufacturer’s instructions. Consider sealing your grout and tile is recommended.
Final Inspection
Once completed, inspect your work for any missed spots or imperfections. Address these issues promptly to avoid future problems.
Related: How To Clean Hardwood Floors: Plus 8 Things That Can Damage Your Floor
Maintenance: Protecting Your Investment
1. Follow Proper Care Guidelines: Different flooring types have specific care instructions. Adhere to these guidelines to extend the life of your flooring.
2. Use Protective Pads: Place felt pads under furniture legs to prevent scratches. Be mindful of high heels and pet nails.
3. Regular Cleaning: Keep your floors clean and dry. Use recommended cleaning products and methods to avoid damage.
Common Mistakes to Avoid
People make several mistakes the first time they install a new floor system. Here are a few mistakes to avoid:
- Skipping Preparation Steps: Rushing through or skipping the prep work can lead to uneven surfaces, gaps, and, ultimately, a failed installation.
- Ignoring Moisture Levels: Not considering the moisture levels in both the subfloor and the flooring can result in warping and mold issues.
- Improper Tool Use: Using the wrong tools can damage your materials and affect the quality of the installation.
Conclusion
DIY flooring installation can significantly upgrade your home’s appearance and increase its value. While it requires careful planning, preparation, and attention to detail, following these tips and tricks can help you achieve a successful installation. Remember, patience and precision are your best tools in ensuring your DIY flooring project stands the test of time.
You might also be interested in: The Resilient Shine: Exploring The World Of Epoxy Flooring


